Back to guides
Step 1 - Set Welcome Message
Customizing your AI chatbot's details allows you to create a welcoming and engaging user experience from the first interaction. In this section, you will learn how to set up your AI chatbot's initial welcome message to greet users, manage suggested prompts, and adjust additional functions to tailor the AI chatbot's interface.
Customizing your AI chatbot's details allows you to create a welcoming and engaging user experience from the first interaction. In this section, you will learn how to set up your AI chatbot's initial welcome message to greet users, manage suggested prompts, and adjust additional functions to tailor the AI chatbot's interface.
How to access this section?
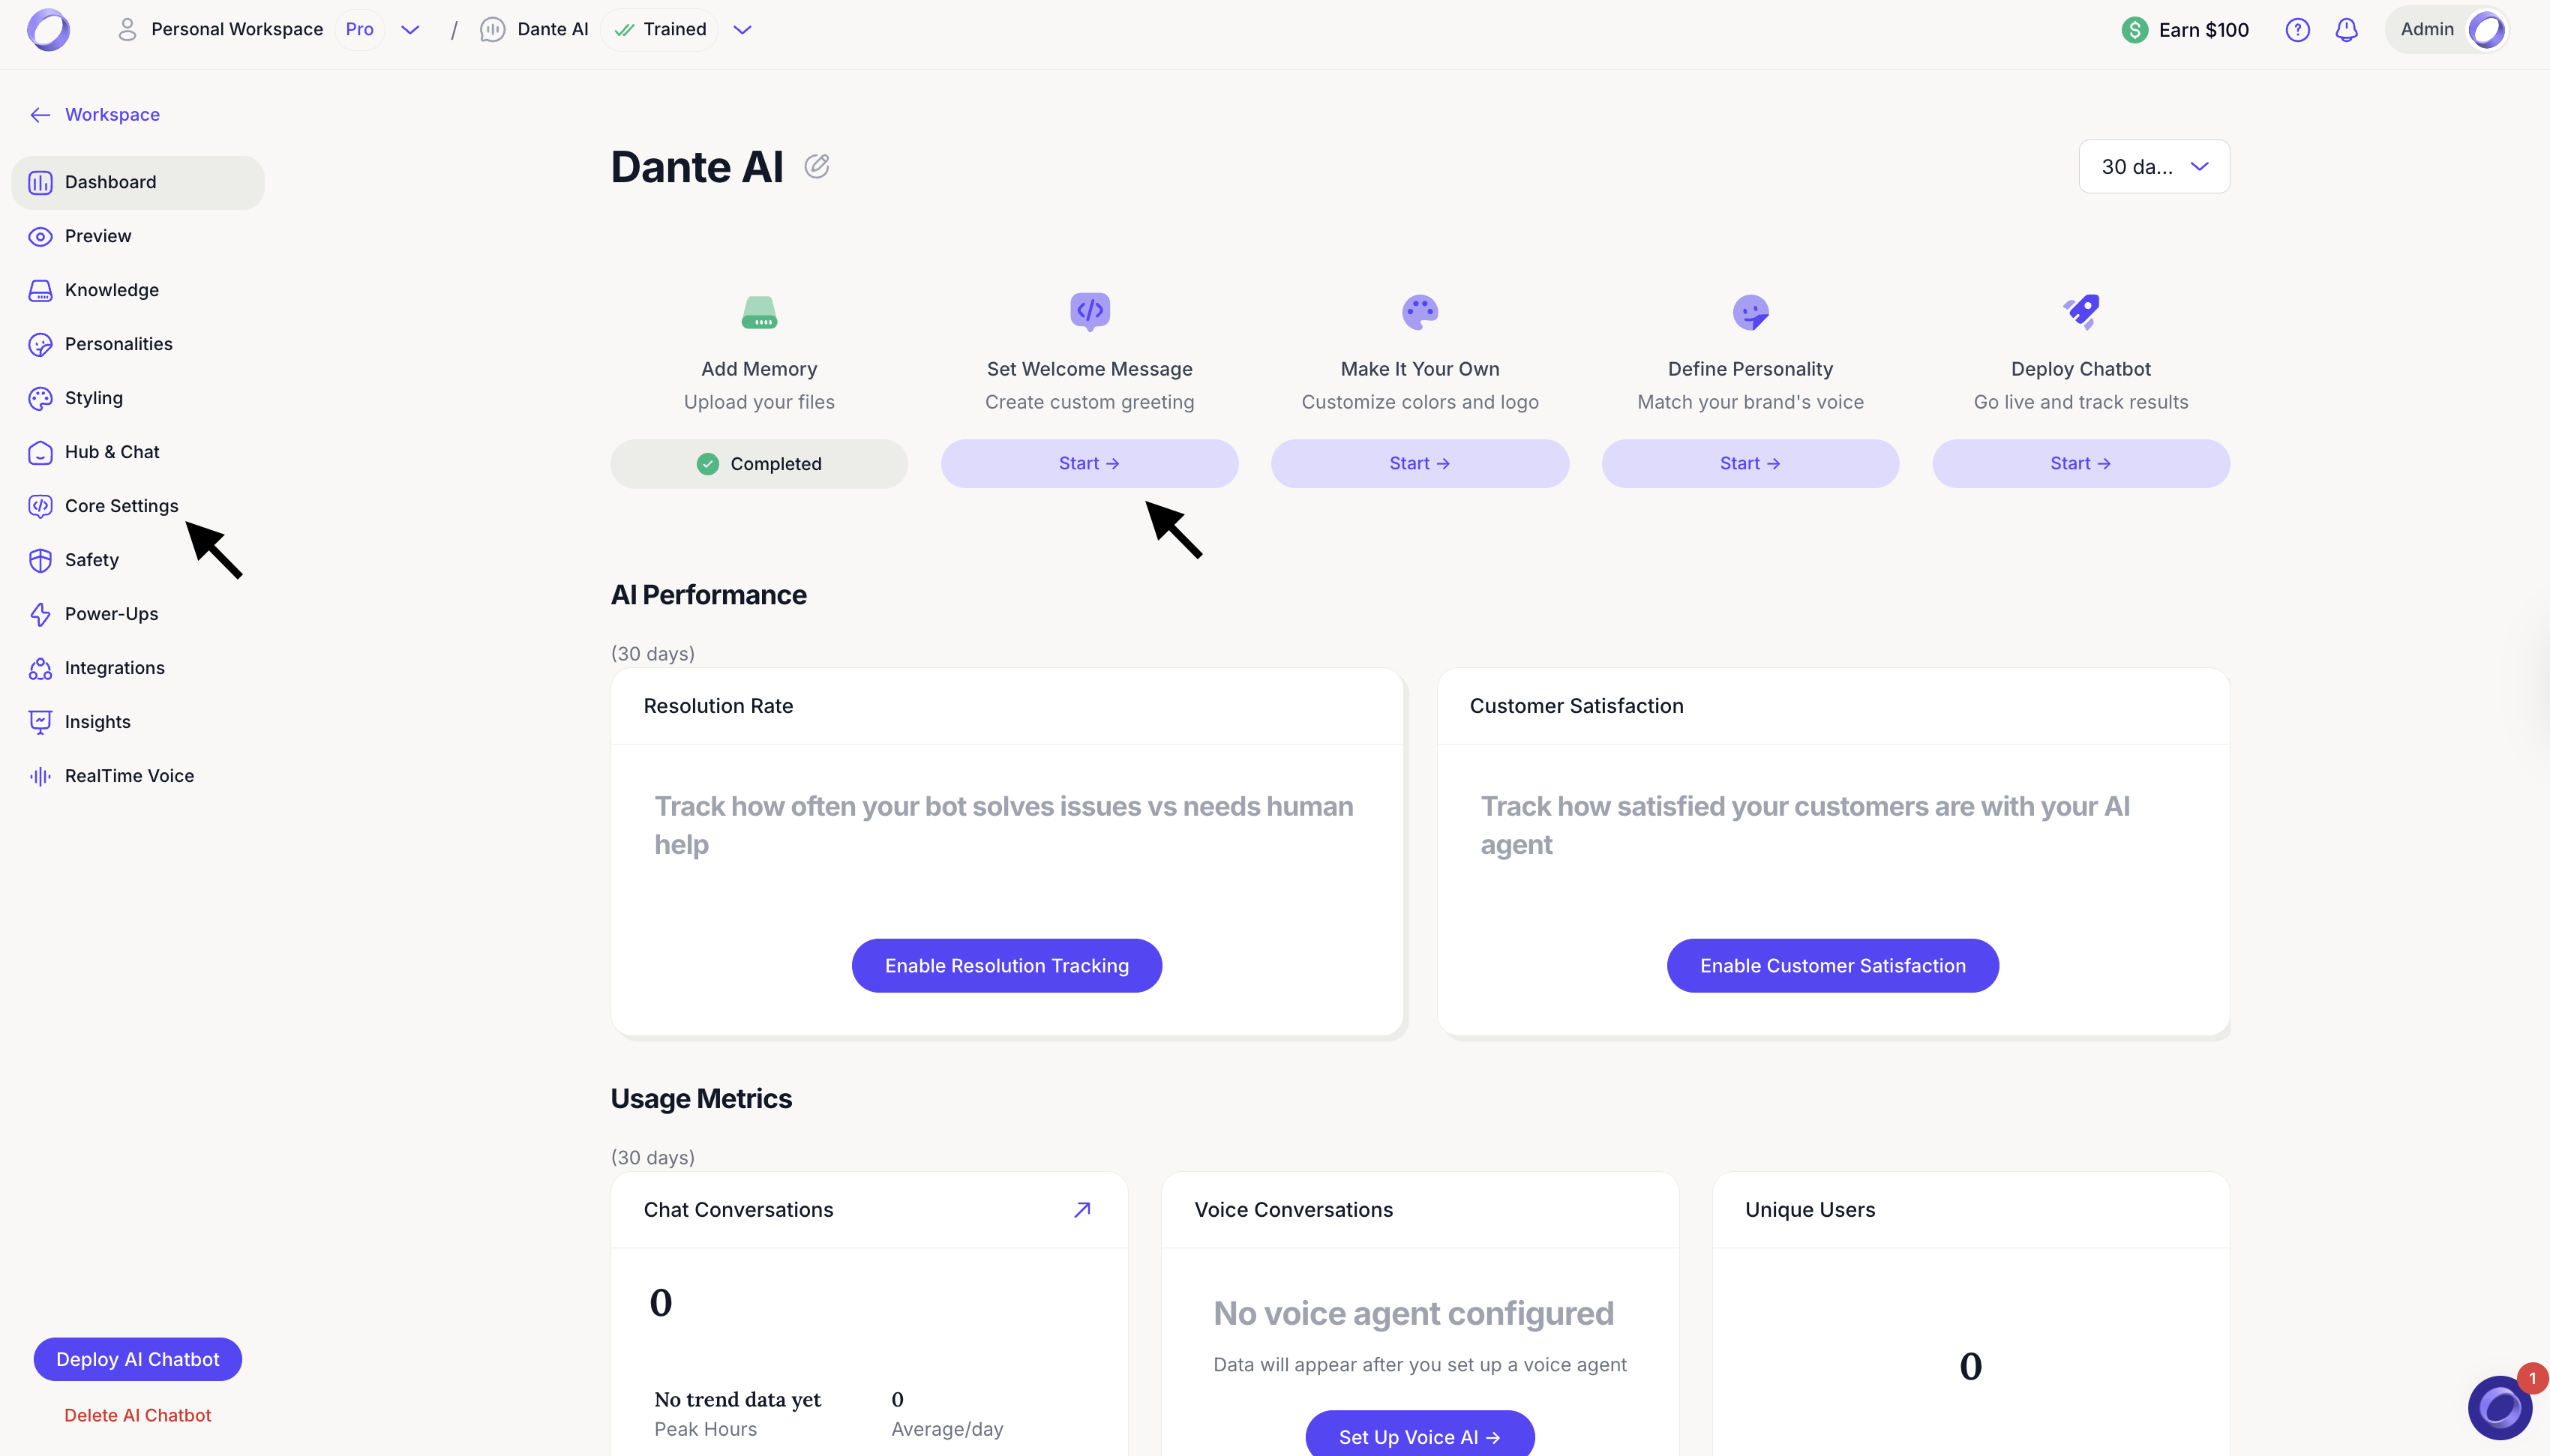
From your AI chatbot dashboard, click Set welcome message or click the Core Settings menu from the left side bar. As you make changes, you will see a live preview on the right side of the page.
- Edit the welcome message
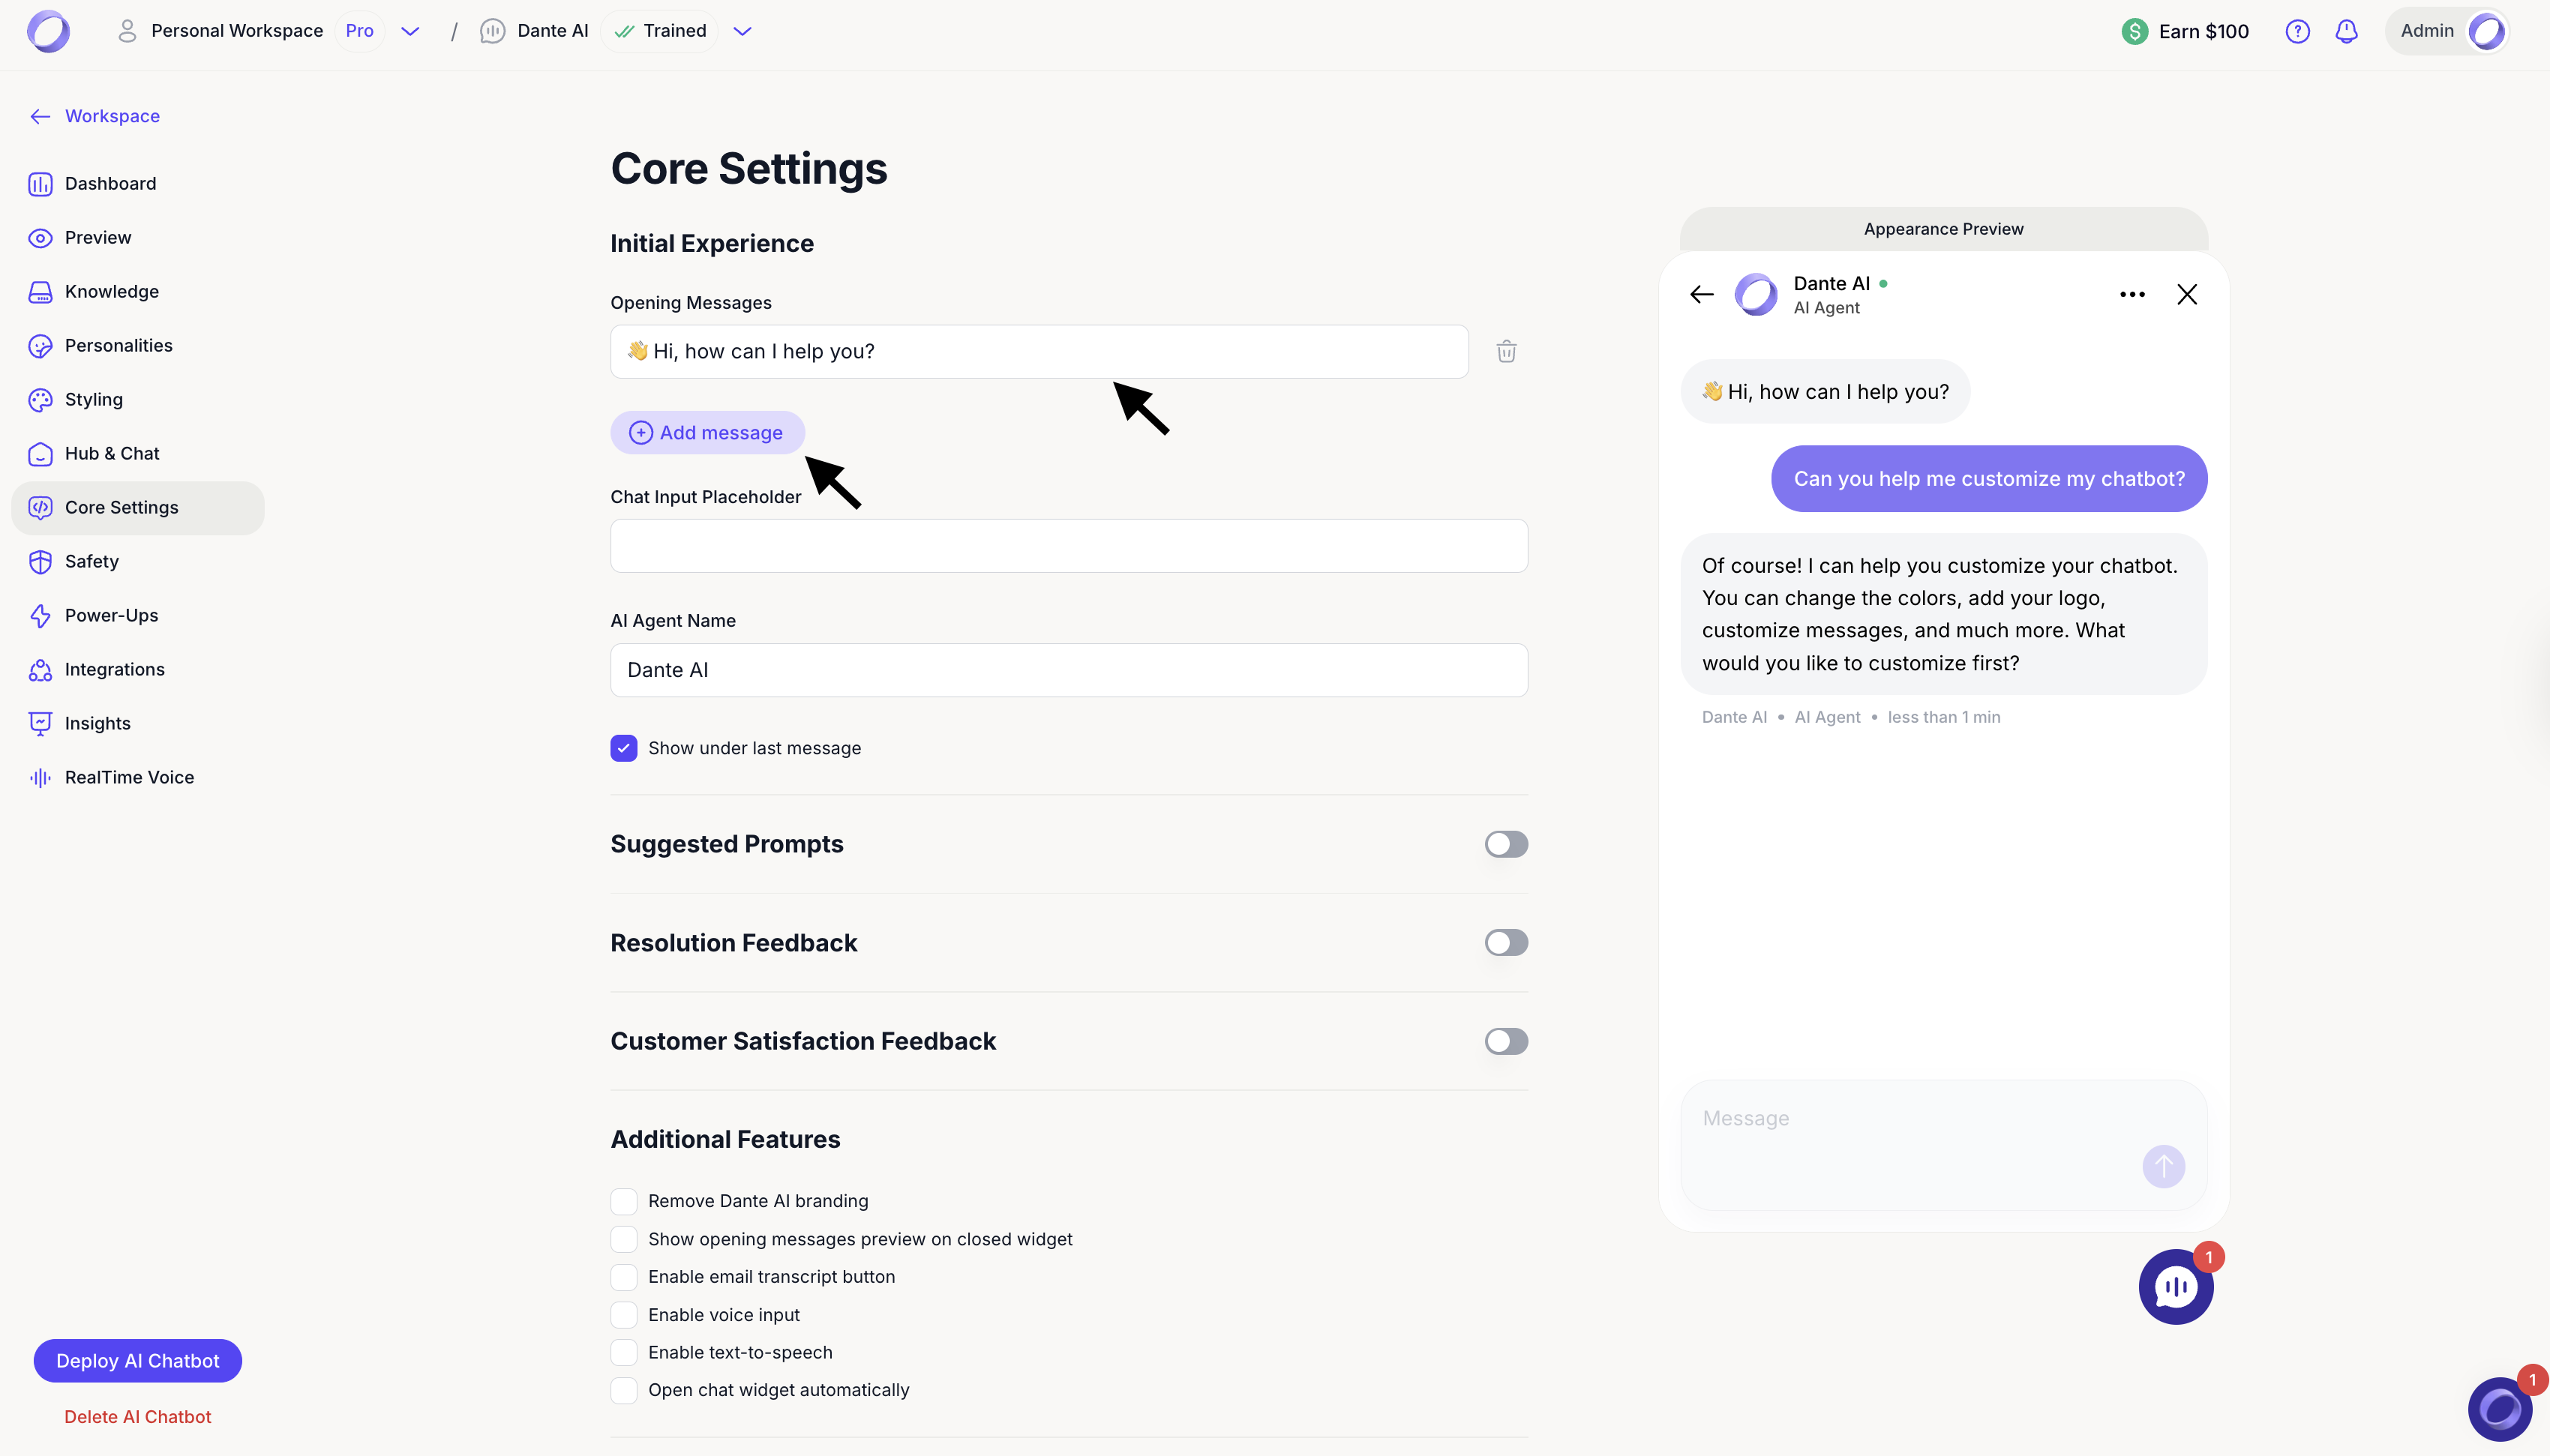
By default, users see: 👋 Hi, how can I help you? You can replace this with your own greeting. You can also add multiple opening messages by clicking Add message.
- Update the chat input placeholder
Use the Chat Input Placeholder field to change the text users see in the message box before they start typing.
- Change the AI agent name
Use AI Agent Name to set the name that appears in the chat experience.

Show under last message option
When enabled, the label AI Agent will appear under the last message, making it clear that the response is coming from the AI chatbot. This is especially useful when human handover is enabled, as it helps users easily distinguish between AI and human responses. The response time will be shown regardless of this setting.
- Suggested prompts
Suggested prompts guide users on what to ask. Toggle Suggested Prompts on or off, then edit the prompts to match your AI chatbot’s purpose.
Examples:
What can you help me with?
How does this work?
Where can I find pricing or support?
Prompts position
Use Prompts Position to choose where suggested prompts appear in the chat (for example, Below Last Message or Bottom of Chat).
Only show suggested prompts once
When enabled, prompts appear at the start of the conversation and disappear after the user interacts.
Show always the same prompts
When enabled, the same prompts will continue to appear instead of changing based on the conversation.

- Resolution Feedback
When enabled, the AI chatbot will ask users whether the answer was helpful after a response. This helps you understand if questions are being resolved successfully and where improvements may be needed.

- Customer Satisfaction Feedback
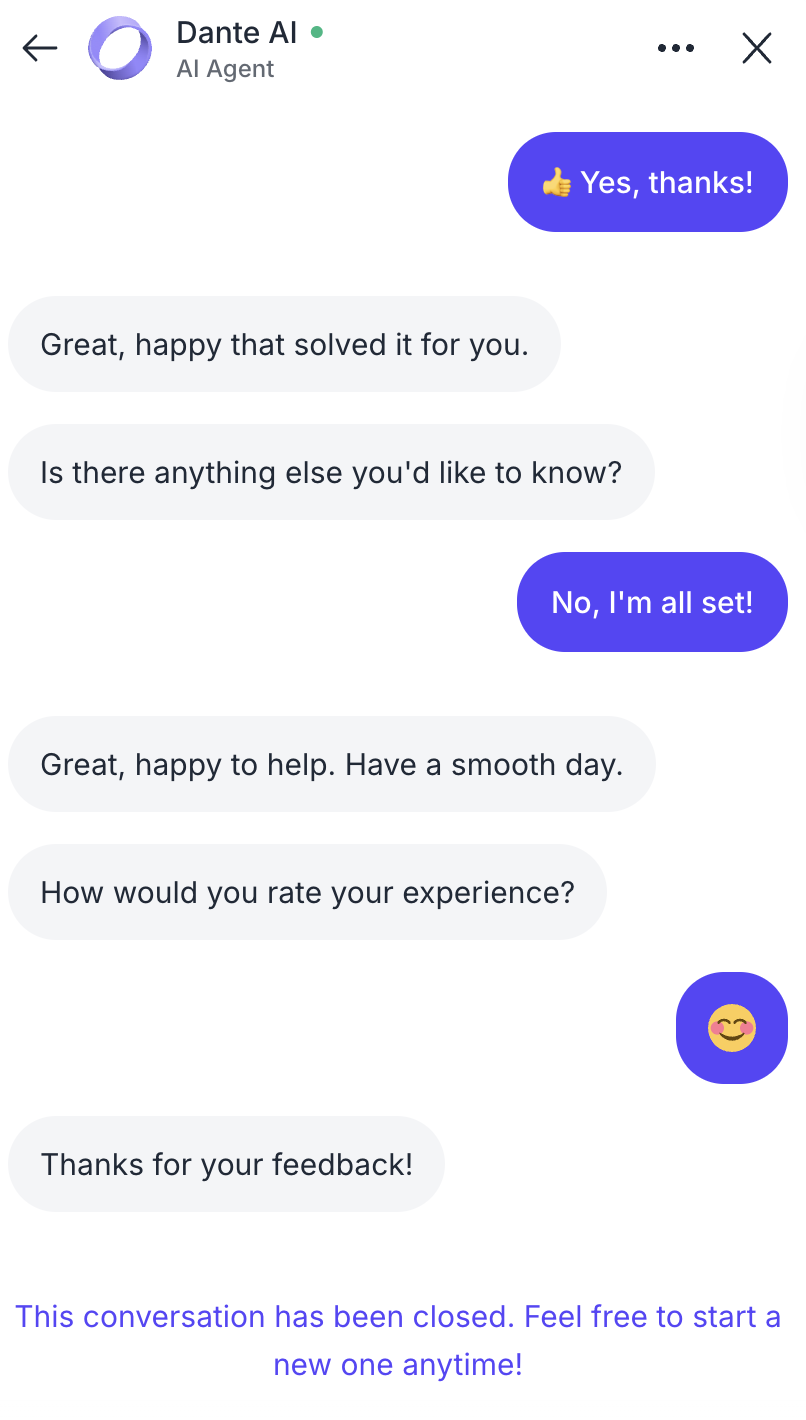
When enabled, users are asked to rate their overall experience with the AI chatbot at the end of a conversation.
You can choose how satisfaction is measured (user rated, AI analyzed, or hybrid), customize the rating question, adjust rating options, and set a thank you message.
This feedback helps you track user satisfaction and improve the chatbot experience over time.

- Additional features
Enable or disable extra chat options such as:
- Remove Dante AI branding
Removes Dante AI logos and branding from the chat widget, allowing you to fully white label your AI chatbot (available on eligible plans).
- Show opening message preview on closed widget
Displays a preview of the welcome message on the chat bubble before the widget is opened, helping attract users to start a conversation.
- Enable email transcript button
Adds an option for users to enter their email address and receive a copy of the chat transcript after the conversation ends.
- Enable voice input
Allows users to speak their questions instead of typing, making interactions faster and more accessible.
- Enable text to speech
Lets users play chatbot responses as spoken audio for a more natural, voice based experience.
- Open chat widget automatically
Automatically opens the chat widget when the page loads, instead of waiting for the user to click the chat bubble.
- Remove Dante AI branding


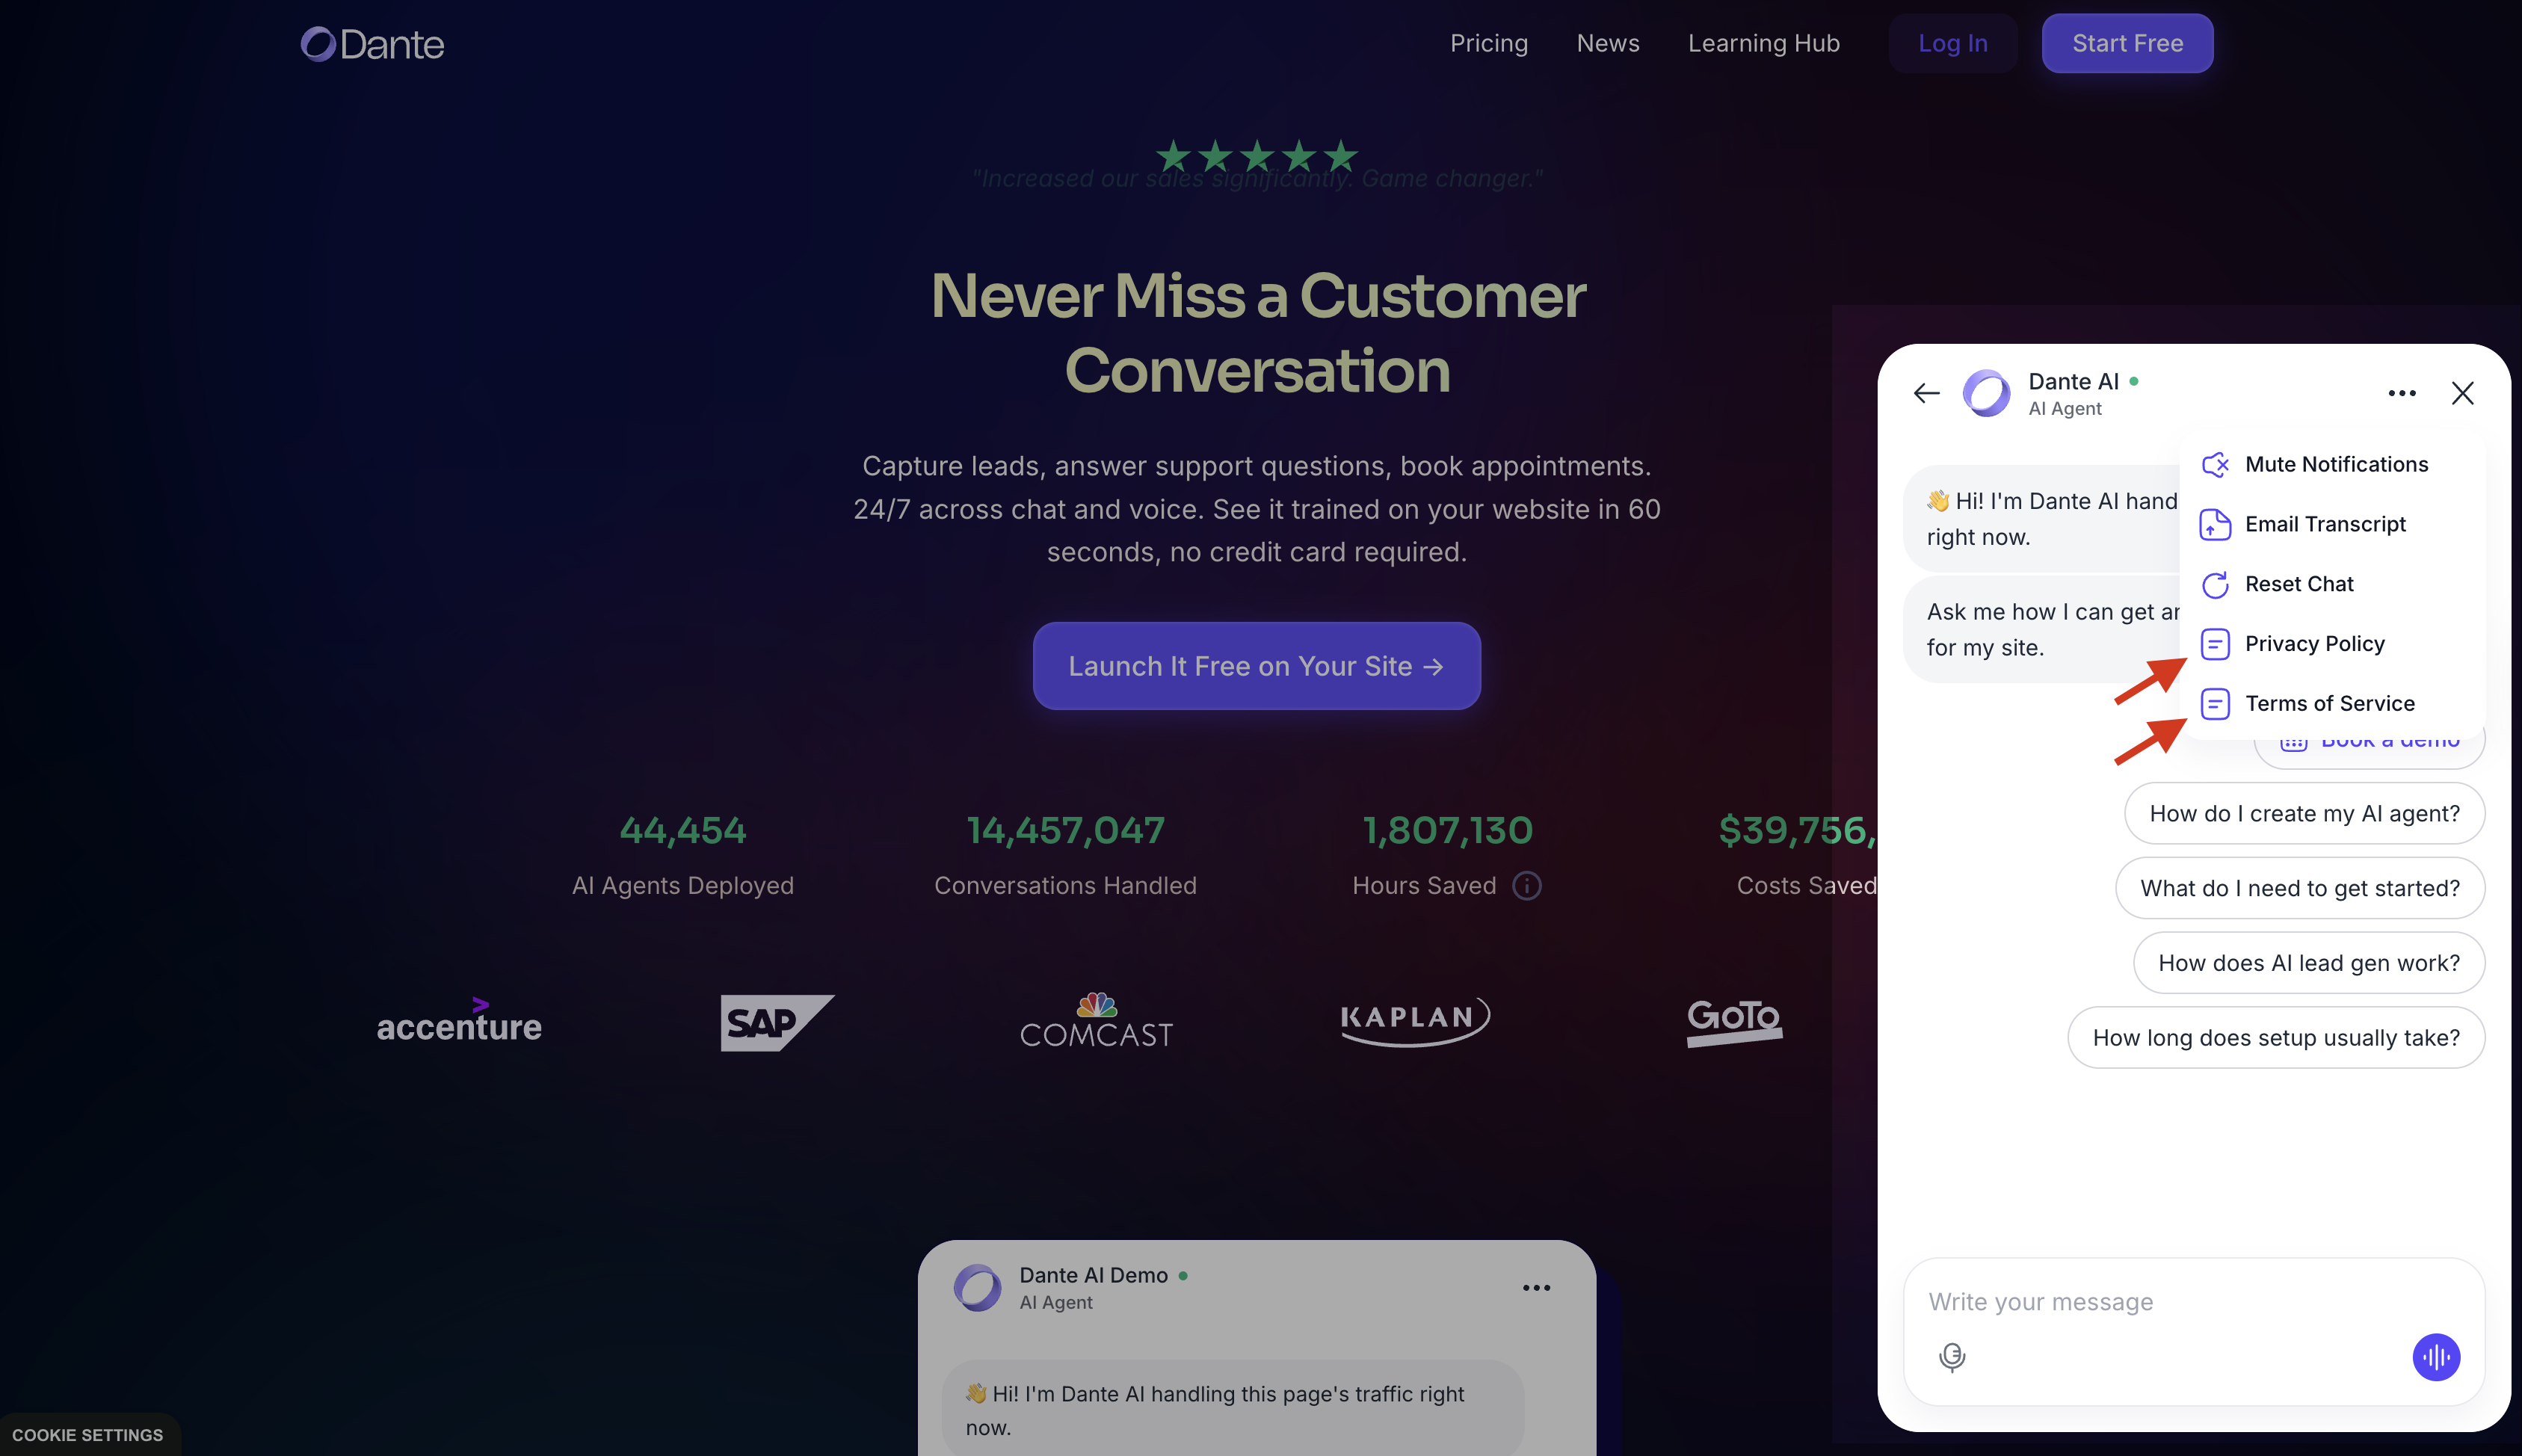
- Legal and compliance
Add your Terms of Use link and other compliance details if needed.

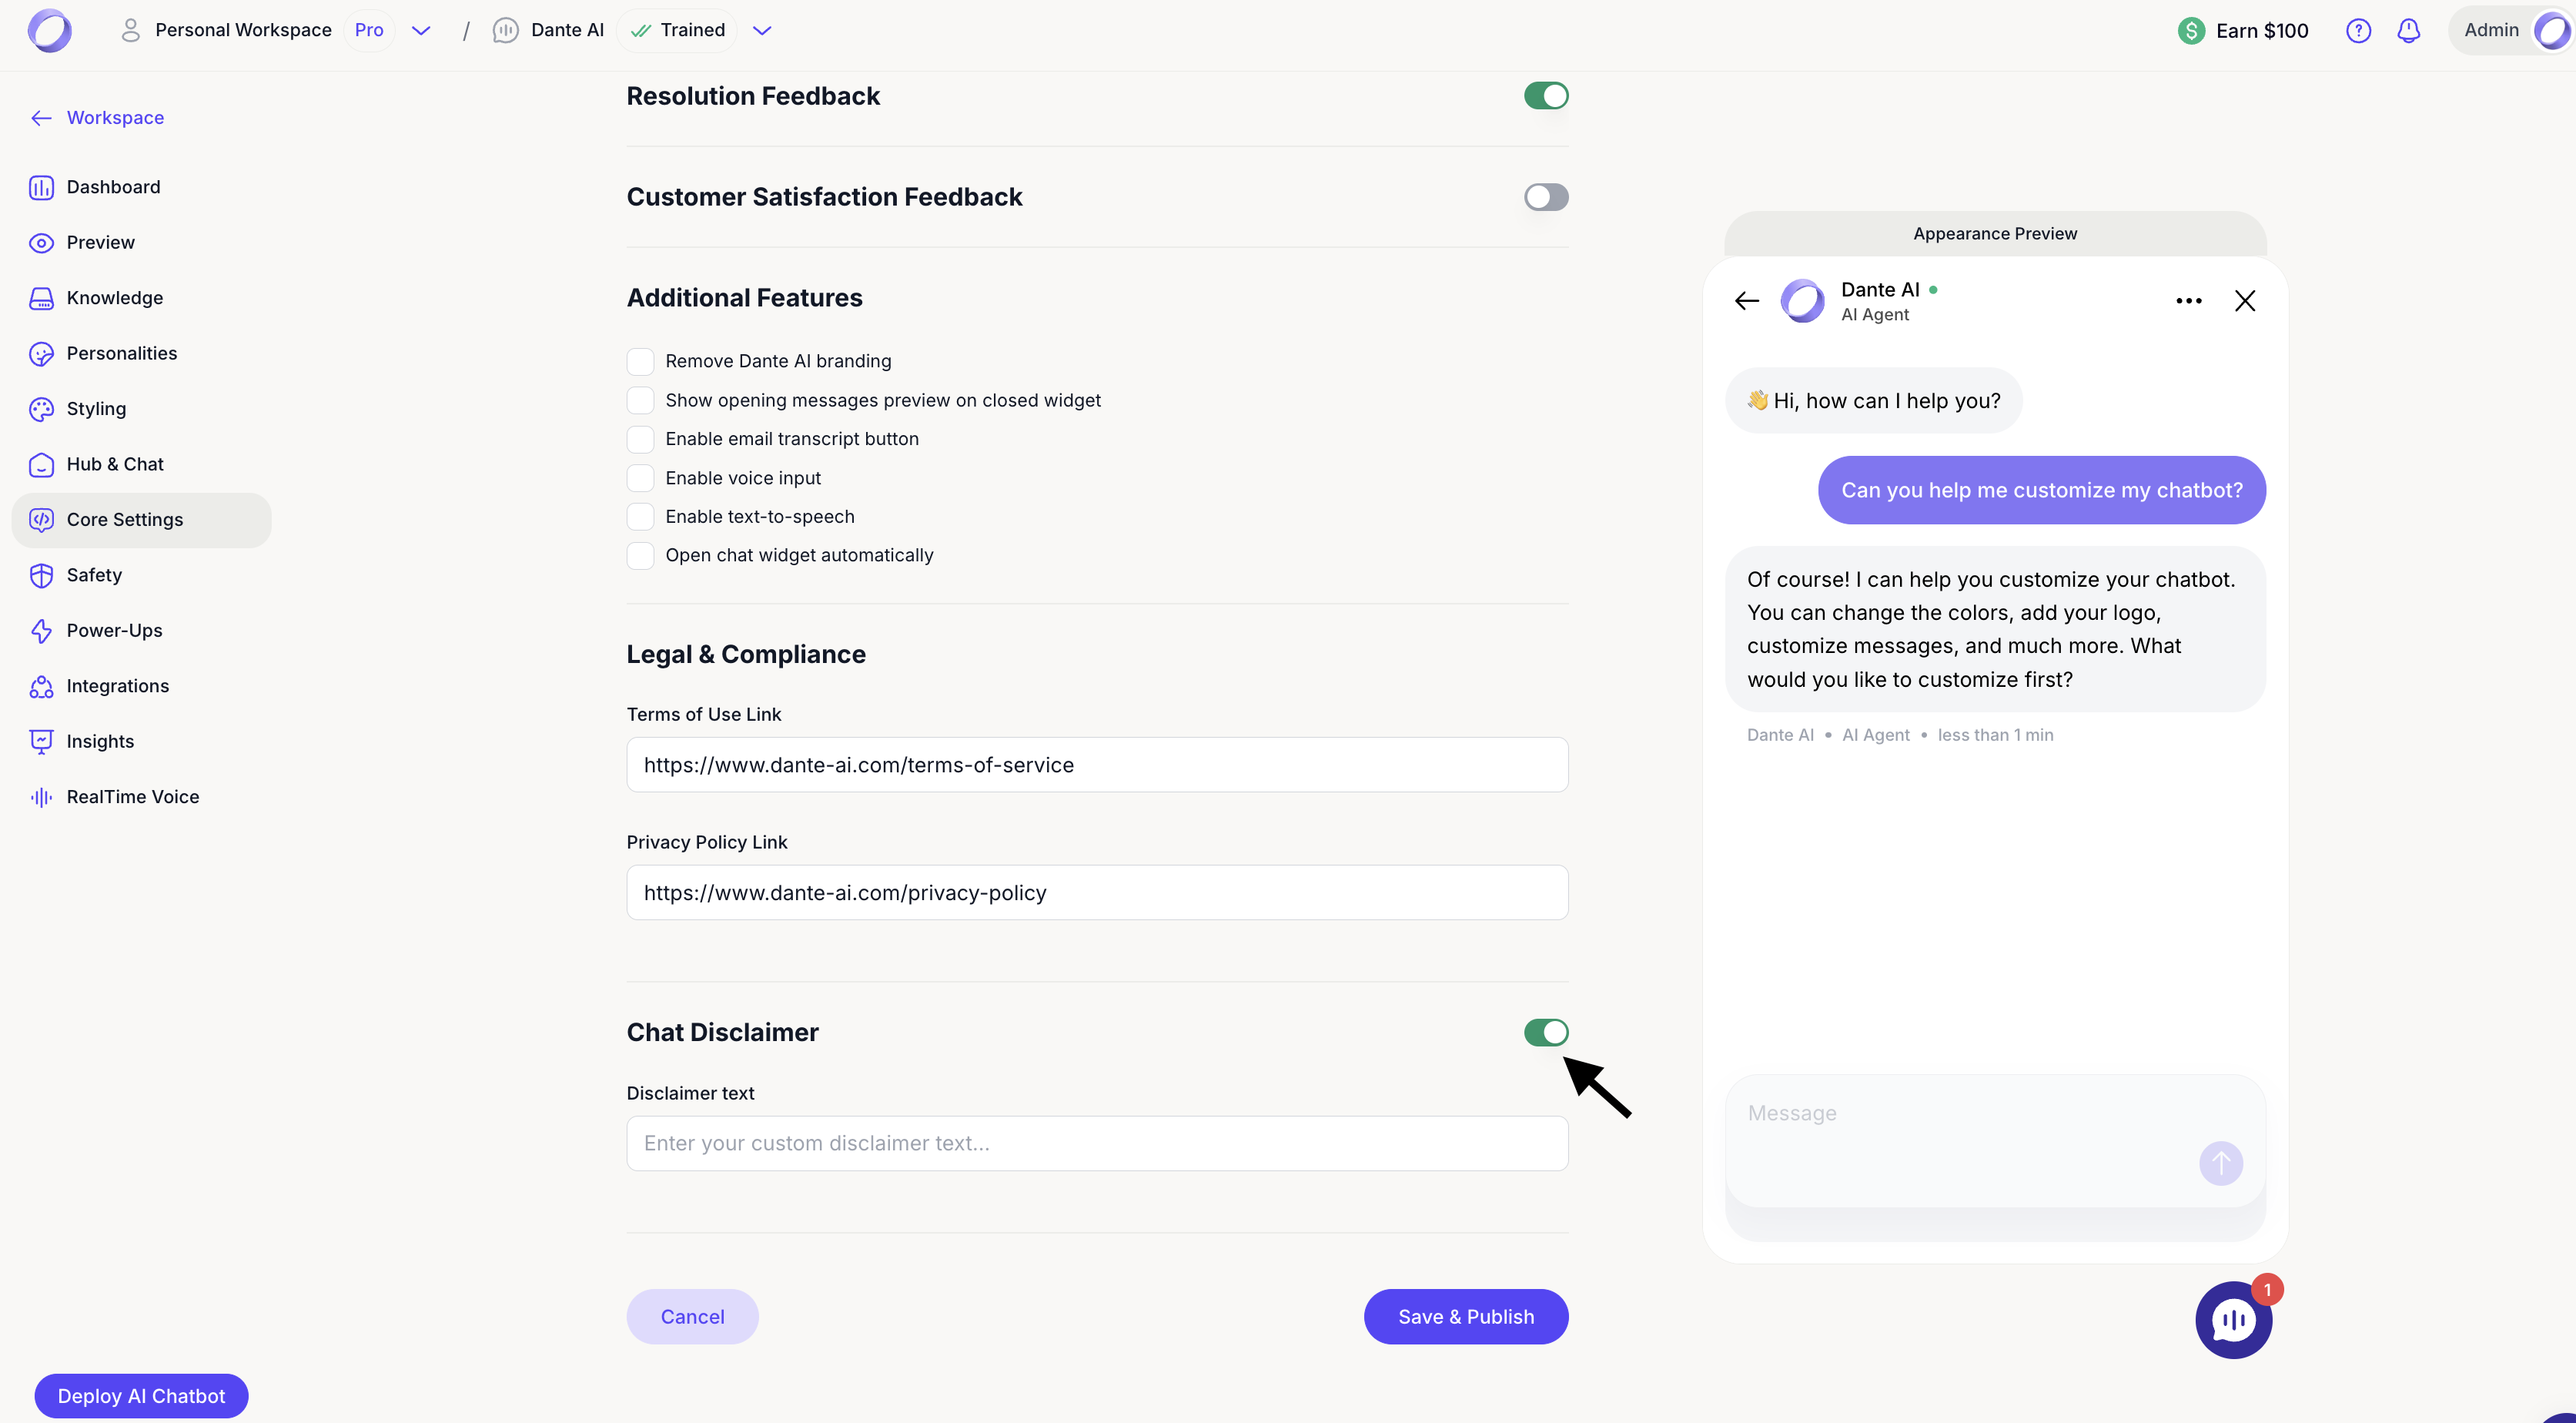
- Chat disclaimer
Enable this option to display a custom disclaimer inside the chat interface. This is useful for sharing important information such as legal notices, usage limitations, or data handling details.
You can enter your own disclaimer text, and HTML links are supported if you need to link to policies or external resources.
Next steps: Styling (Make It Your Own)
After you’ve set up your AI chatbot’s basics, click Save & Publish to continue customizing.
For additional support and to connect with other users, join our Discord community.